Starting an Organic Vegetable Garden
Want to learn the in depth secrets to how to grow a vegetable garden organically? Reduce your grocery bill, get some exercise, and bring fresher and tastier vegetables to your table. What better way to “eat local†than to eat from your own back yard? Grab a chair and get ready to learn the how we get success in our gardens.
CHOOSING A SITE The first step to becoming a successful gardener is picking a great location for your vegetable garden. The ideal vegetable garden is right outside the kitchen door, in a well-drained, sunny spot with rich, loamy soil, and has a water spigot, (or two) close by. And as long as we’re dreaming, let’s include a convenient spot for a compost pile or tumbler, and an outdoor sink for rinsing and prepping the harvest before we step right back into the kitchen
Somewhere, someone probably has that garden spot, but for the rest of us, compromises will have to be made. In order of importance, the requirements of a successful vegetable garden are;
-Sun: Either your garden has it, or you must be willing and able to remove whatever is blocking it.
-Convenience: What, ahead of soil and water? Yep, because a garden that’s out-of-sight quickly becomes out-of-hand. You’ll want to visit the garden frequently, to check the progress of the crops, to harvest, to pull a few weeds, or just enjoy a quiet respite from your busy day. Pick a spot that you will visit daily.
-Water: Got to have it, but it’s usually easy to provide. If you have running water on the property, you can get it to your garden.
-Soil: Some of us get good soil, and the rest of us get to build good soil. Either way, we as gardeners are stewards of the soil.
WATERING FOR SUCCESS The best way to meet the water needs of your veggie patch is to install an irrigation system. Your system can be as simple as a lawn sprinkler attached to a spigot, perhaps with a timer to shut it off. A better long-term solution is a microsprinkler system. Learn more on this subject by reading our “Microsprinker Guide” or by visiting the nursery. Our gardens and orchards are watered using this method. We’ll be glad to show you how we use micro-irrigation, as well as provide you with all the parts and pieces of this low-tech irrigation system.
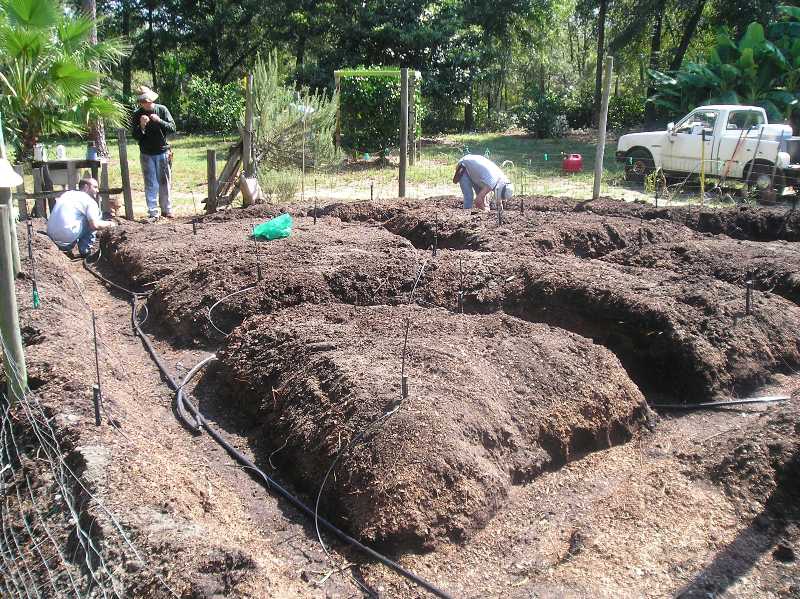
DEALING WITH THE DIRT Finally, we get down to the dirt. Just as important as water is soil, and soil is a subject gardeners love to discuss, debate, conflate, and obfuscate. Just go out to your chosen plot, and grab up a handful of dirt; is it sandy or clayey; soggy, moist, or dry; does it hold together when you squeeze it in your fist? Is it rich and dark, or pale and sandy? Smell it; Is it earthy and pungent, or something you could use in a playground sandbox? Soils run from heavy clays, (suitable for pottery) to arid gravel (suitable for paving). The ideal garden soil is a mix of clay, sand, rotting organic material, trace elements, and minerals (suitable for growing stuff). Your chosen spot will probably have some, but not all, of these ingredients. It’s up to you to provide the rest.Â
Most vegetable plants are heavy feeders, so animal manures, and/or plant composts should be added to your garden. Apply soil amendments evenly over the plot, bed, or row, and using a spade, rake, or tiller, work the amendments into the soil. Plan to do this two to three weeks before planting. Remember that manure comes is many strengths; freshly acquired manure (straight from the animal) will have a strong scent, a sign that it is more potent, and less can be used. Most bagged products are aged, and therefore less potent, so more is required. Here’s a handy table to help you calculate the right amount of amendment needed; let your nose be your guide. (NOTE: suggested rates are per 100 square feet; i.e., 10’ by 10’ bed, or 50’ of 2’ wide row.)

Amendments like ground bark, rotted leaves, and peat can also be added to the garden before tilling. If you have your own compost pile, pile it on! These types of amendments will increase the organic content in the soil, allowing it to hold moisture and food more efficiently. Finding enough of these amendments can be a challenge. Great quantities of leaves can be found in the fall, when people begin raking their yards, often bagging them and leaving them on the curb, making it easy gathering for the savvy gardener. We use a lot of a product called “New Peat” in our gardens; it’s made from composted hardwood and lawn waste. It’s weed free and available in bulk at the nursery.Â

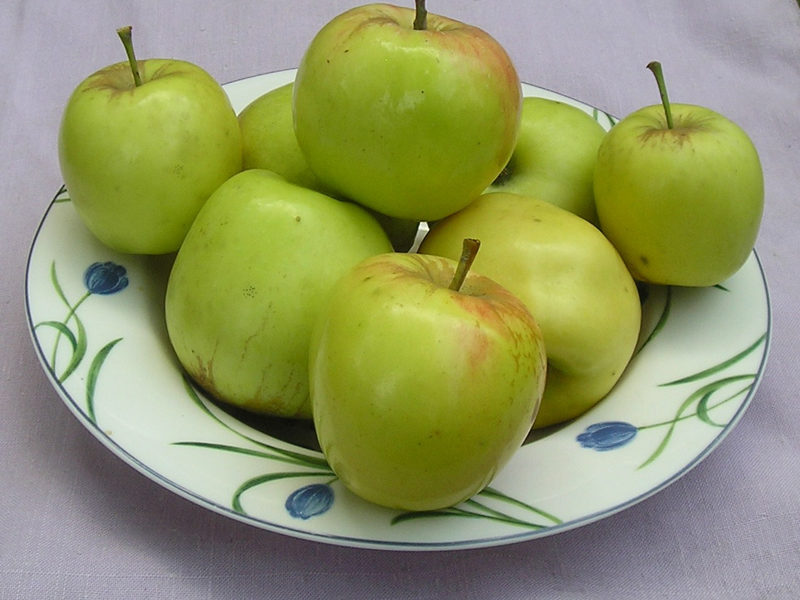
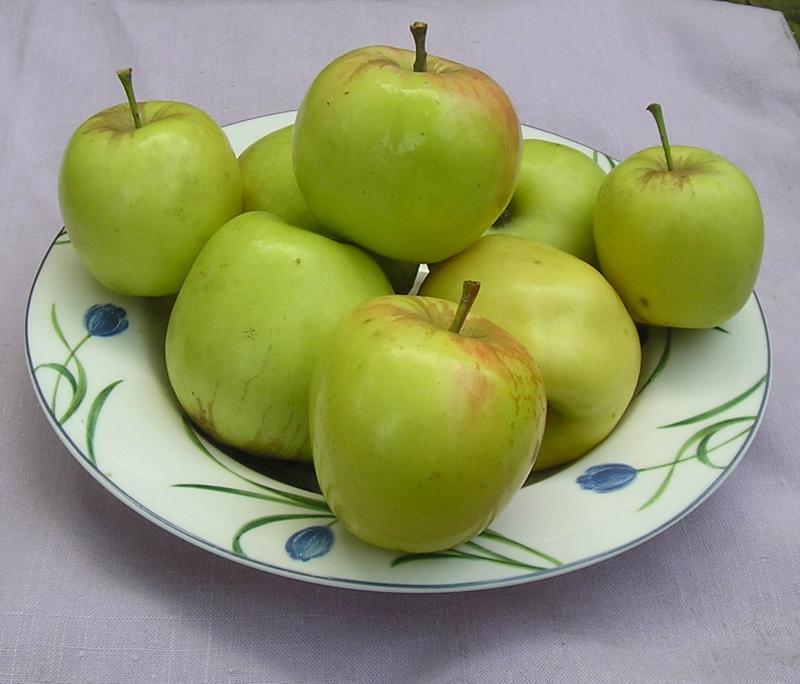
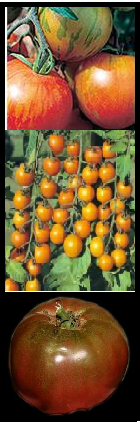
PLANTING When and what to plant will naturally vary with location. In North Florida, we are blessed to be able to garden pretty much year round. We can have two warm season gardens, with the first crop of vegetables like tomato, squash, and beans planted in spring for early summer harvest, and the second crop planted in late summer for fall harvest. Eggplant, cherry tomatoes, and peppers carry us through the dog-days. Fall is the time for lettuce, kale, collard, and mustard, as well as cabbage and broccoli. Late winter is the time to plant potatoes and onions, and then it’s time to start sowing root crops like carrots and radish. For a detailed chart download our “Just Fruits Vegetable Planting Guideâ€Â
FERTILIZE ORGANICALLY What! I’ve tilled, I’ve composted, I’ve hauled manure, and now I’ve got to fertilize? Well, probably, especially on new gardens. You’ve got to put good in to get good out. There are many varieties of organic fertilizers on the market. In our gardens, we use the Espoma fertilizers. They have a great balance of quality ingredients. We have found Espoma Citrus Tone and Fertrell High N to work best in vegetable gardens. Espoma and Fertell products are produced by two companies that have been providing high-quality organic fertilizers to gardeners for many years.
MAKE YOUR OWN HOMEMADE FERTILIZERS We also have a number of products for creating your own homemade organic fertilizer. They include Green Sand (an excellent source of potassium), Rock Phosphate, and Bone Meal (a high-quality source of phosphate and nitrogen). Homemade fertilizers are easy to make and can save you money. Here’s our recipe for success:
4 parts seed meal (Cotton meal, soy meal, or alfalfa meal)
2 parts greensand
1 part bone meal, rock phosphate or high-phosphate guano
1/2 part dolomite
1/2 to 1 part kelp meal, or 1 part crab meal
KNOW WHAT YOUR VEGGIES NEED Remember that different veggies have different demands. Those with high demands need extra compost/manure and fertilization, while those with low demands will thrive with a minimum amount of care and amendments.
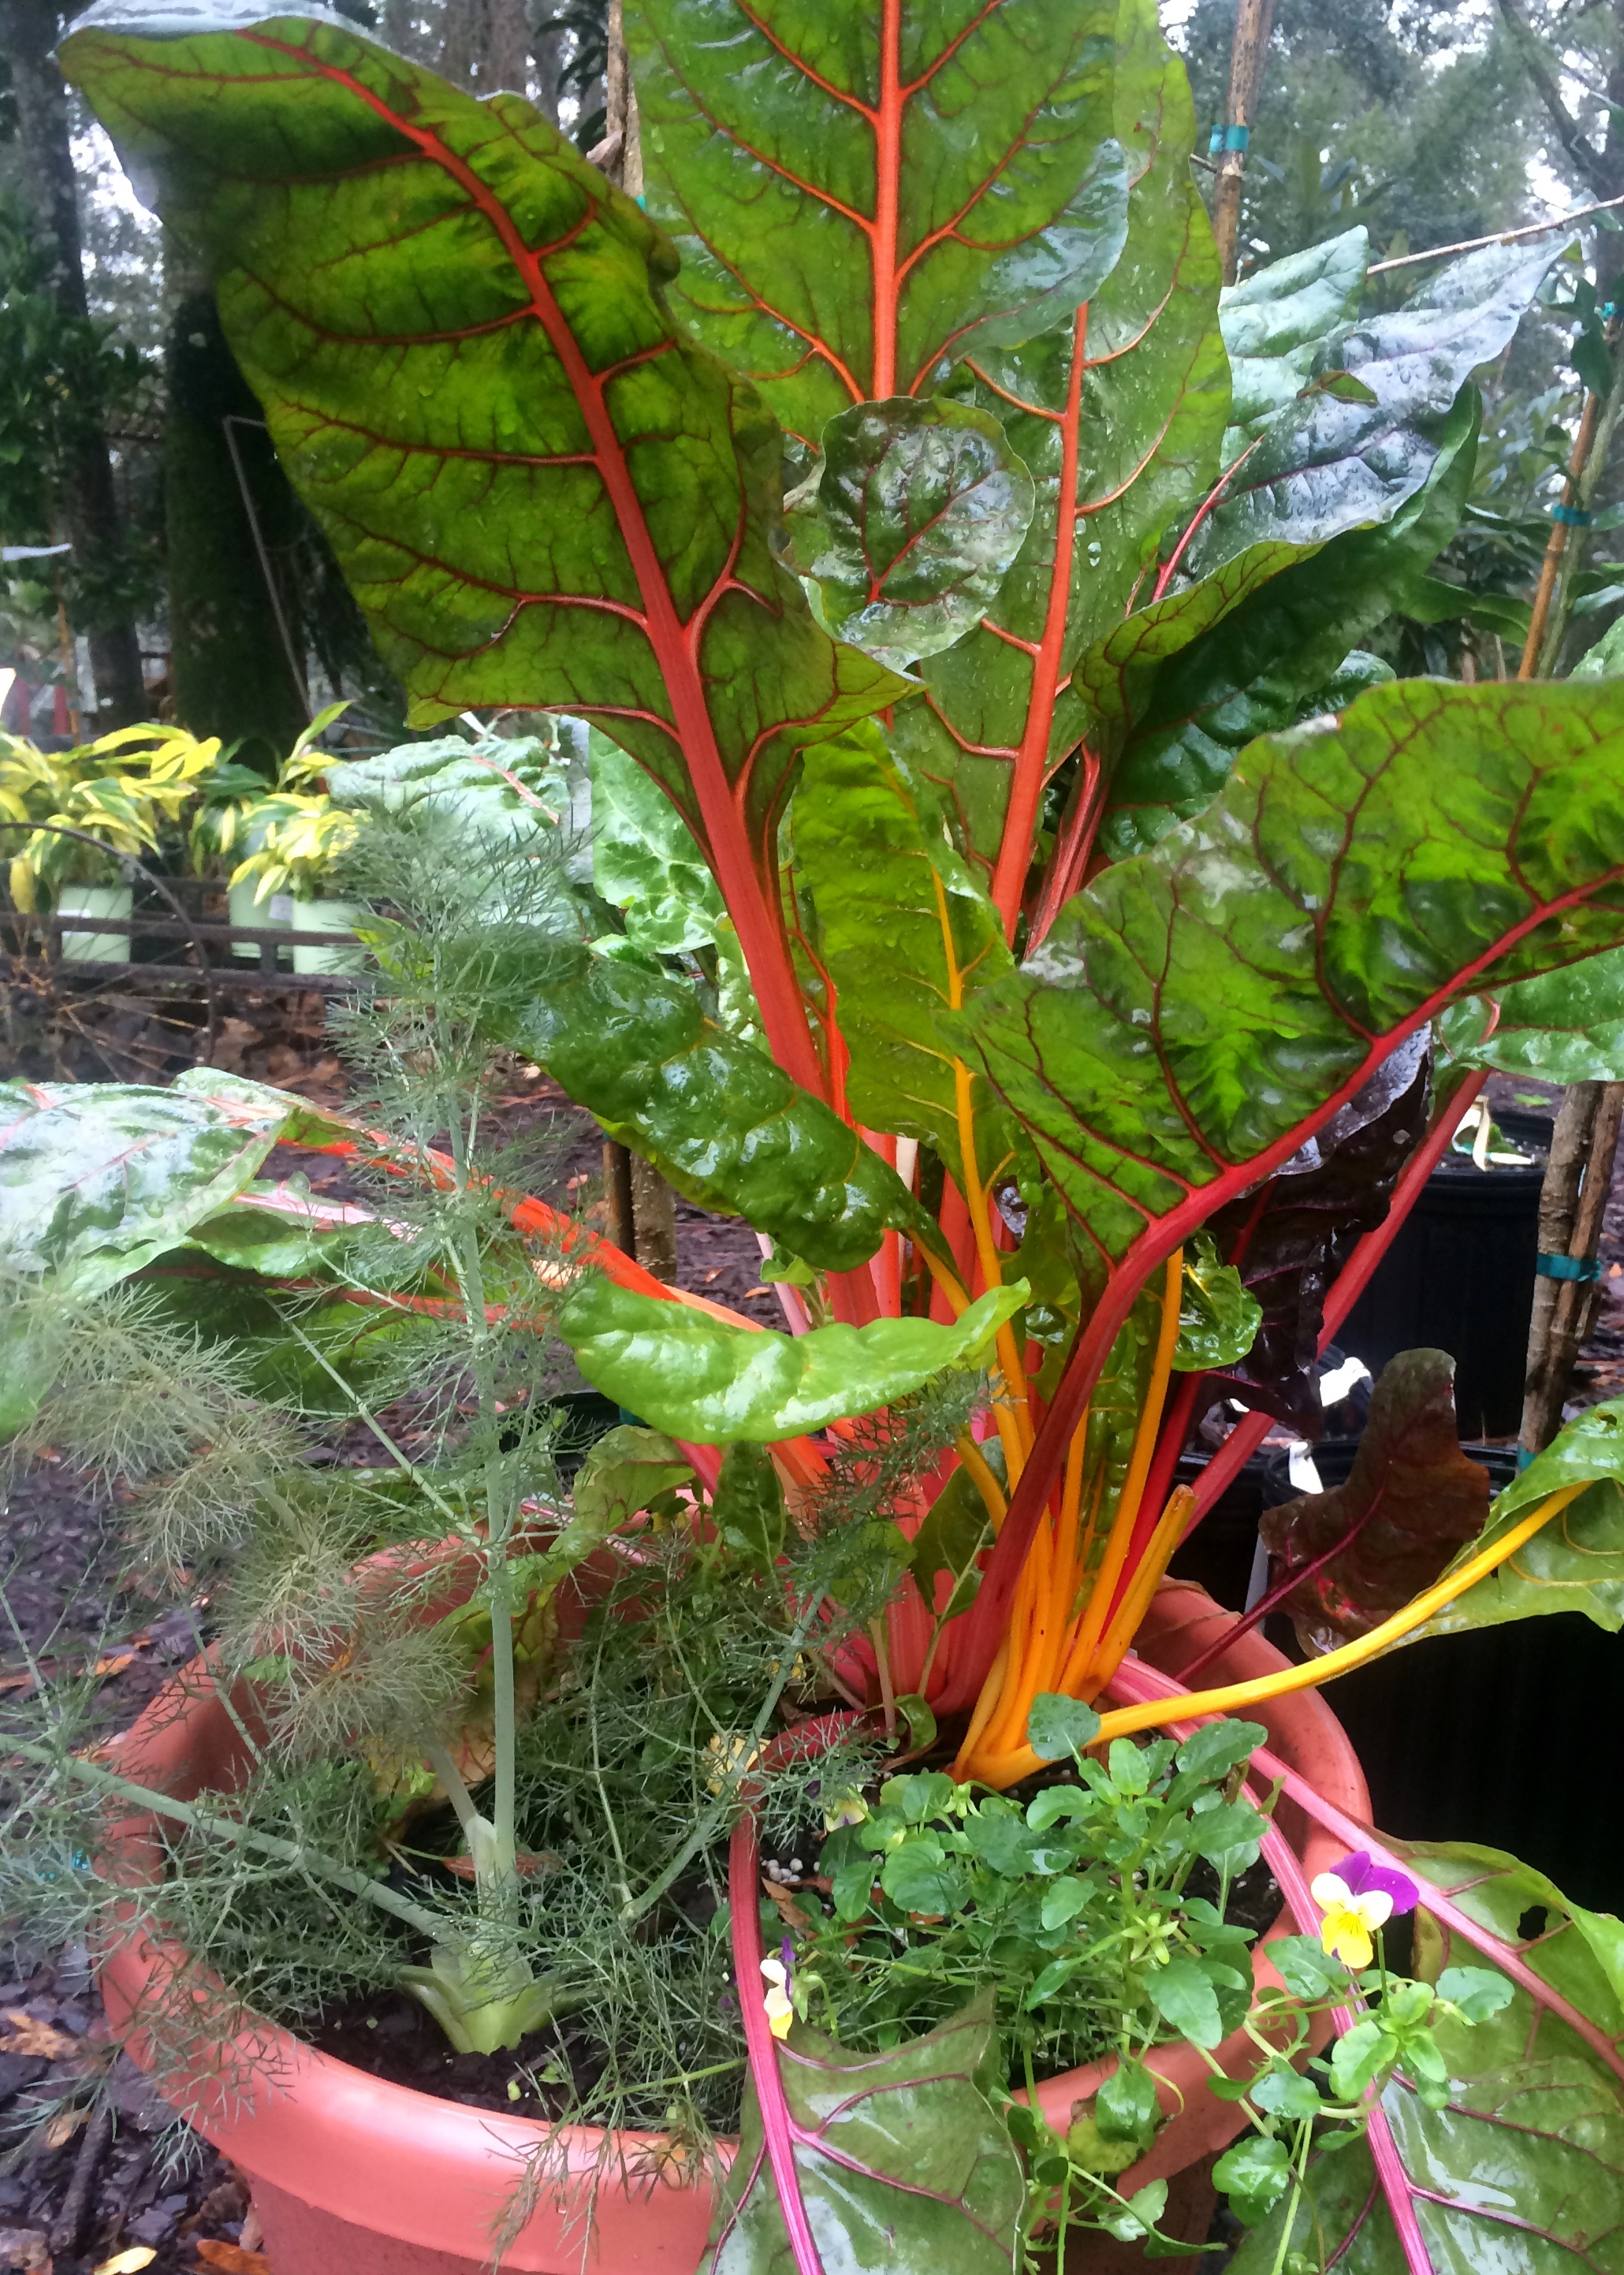
LOW DEMAND VEGGIES include: Use the lowest recommended rate of amendments of the table above plus an application of fertilizer at planting. These plants benefit from an occasional boost with liquid fertilizer. Arugula (rocket), beans, beets, carrots, chicory, collard greens, endive, Â herbs (most kinds), kale, parsnip, peas, southern peas, sorrel, swiss chard, and turnip greens
MEDIUM DEMAND VEGGIES include: This group needs a medium amount of the recommend soil amendments and an application of fertilizer at planting. They benefit most from biweekly doses of liquid fertilizers. basil, cilantro, sprouting broccoli, brussel sprouts, cabbage, kohlrabi, lettuce, mustard greens, okra, top setting onions, peppers (small fruiting), potato, pumpkin, radish, rutabaga, scallions, spinach, squash, tomatoes, turnips, and zucchini.
HIGH DEMAND VEGGIES include: On these be sure to use the full amount of amendment recommended. Be sure to apply fertilizer at planting as well as a side dressing of fertilizer again mid season. Apply biweekly doses of liquid fertilizers. Italian broccoli, brussel sprouts, Chinese cabbage, cabbage , cauliflower, celery, Asian cucumbers, leeks, bulbing onions, and peppers (large fruiting) and tomatoes.
 LIQUID FERTILIZERS BOOST GROWTH A great way to boost your vegetables is with regular applications of organic liquid fertilizers. These can be teas, made by soaking your homemade compost or worm castings in water, or solutions of readymade products like fish fertilizer and seaweed. In our gardens, and our vegetable seedling growing operation, we use Brown’s Brown’s Hydrolysate Fish Fertilizer. Brown’s Hydrolysate Fish Fertilizer is produced using a cold process, which uses the natural enzymes in the fish to digest the fish from a solid to a liquid, leaving a nutrient rich, bacterial alive fertilizer. Filtered through a 120 mesh screen this product is less smelly and is easily applied with a pump up sprayer, hose end sprayer and as a drench You’ll also find it in our garden shop.

MULCHING Now that you’ve amended, irrigated, and fertilized, you’ve made a perfect home for all the veggies you’re planning to grow. Of course, every weed in the territory is eyeing your plot, while licking its chops. Assuming weeds have eyes, chops, etcetera; which, frankly, I believe they do. What to do? Mulch! A nice layer of mulch will prevent invading weeds from establishing a toehold, and prevent weed- seeds already in the garden from germinating. Mulch not only frustrates weeds, it moderates soil temperatures, and therefore saves water. And as it rots, it adds to the organic matter in your soil.
JUST DO IT Remember, we’re talking about starting a veggie garden; you don’t have to jump right into an acre of tomatoes or cucumber; you just want the pride (and pleasure) of eating fresh vegetables that you have grown.