Training Fruit Trees; Start your tree Right
If dependable, annual crops of large juicy fruit are what you want from your fruit trees, then annual pruning and thinning of fruit is important. Training fruit trees to develop strong, well spaced branches, which can handle heavy loads of ripe fruit, is also critical to insuring the tree will live a long life free of breakage and disease. There are many different training systems out there, we tend to use modified central leader, open center, and multi- trunk bush systems here at the farm. Â See the chart at the end of the article to find which system works best on what fruits.
Â
Modified Leader
 Many fruit trees are trained to this system, as it offers a low easy to pick tree and follows the natural shape of many species of fruit trees. Fruits that are prone to fire blight like apples and pears in the southern states are pruned to this style, as they will recover and rebuild their structure more easily if attacked by Fire Blight.Â
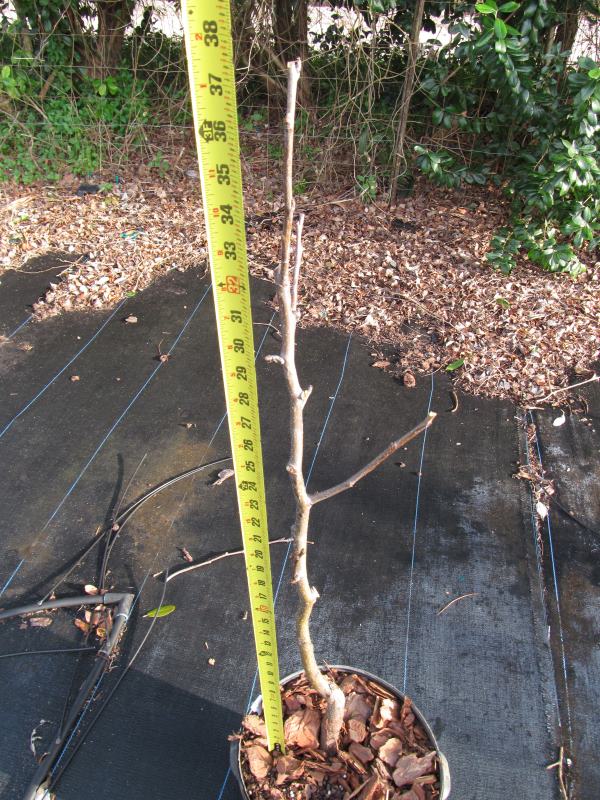
First Year- After planting if your tree does not have any scaffold limbs at 30 to 36 inch above ground, you’ll need to create some, so your tree will have low branches that are easy to pick. Do this by topping the tree at 30 inches from ground level. If you do have a a well placed scaffold limb at the appropriate height trim it to 4-5 inches and top the main trunk of the tree 1 foot above that to help create another limb. Â During the first growing season you’ll need to create more scaffold limbs as the tree grows. Do this by topping the main trunk at 1 foot intervals, When the new shoots form choose two, one for a scaffold limb and one to continue the trunk to the next level for a scaffold limb, pluck the rest of the shoots off. Make sure you choose the scaffold limb bud that is growing in a different direction that the limb below, to insure good sunlight to all the scaffold limbs. Â You are working to create a total of 4-6 scaffold limbs. It often takes two year to complete the training of a modified central leader tree.Â

Second Year- Continue topping main trunk to create the remaining scaffold limbs. Trim out any water sprouts that form on the top side of the limbs. Cut back long scaffold branches to stiffen them  and help form side branching.Â
Third Year -work on maintaining height of tree by heading back top to a weak side limb. Keep upper scaffold limbs pruned short to allow sunlight to lower scaffold limbs. Remove water sprouts, and crossing branches.
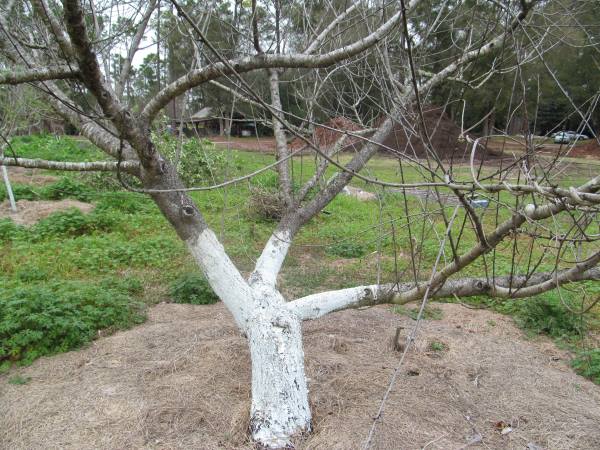
Open Center
This method opens up the center of the tree to let light and air in. It works well for fruit trees with naturally open shapes like peaches, nectarines and plums.Â
First Year- If there are no scaffold limbs at 24-30 inches, top tree at that point. If there are scaffold limbs at  the correct height trim these to  short 3-4 inch stubs to promote stronger growth. As growth forms in the spring choose not more than 4 new shoots that are well spaced around trunk for scaffold limbs. Avoid several limbs growing from nearly the same point on the trunk or weak crotches will result.Â
Second Year – Remove any water sprouts that form along upper side of limbs. Shorten the scaffold limbs to 3-4 foot to create some side branching.Â
-Third Year- Remove water sprouts, hold height of tree by topping to lower  outward growing branches.  On peaches and nectarines, remove some of the fruit wood (small thin shoots) to keep the tree from over bearing. Â
Multi Trunk Bush
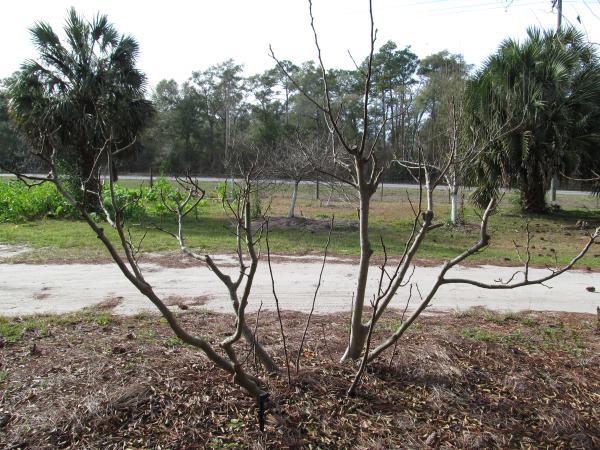
This method is used on fruits that tend to freeze easily like fig and pomegranate. Creating multiple trunks will insure a good base for the tree to re-sprout from, when the occasional freeze damages the tree.
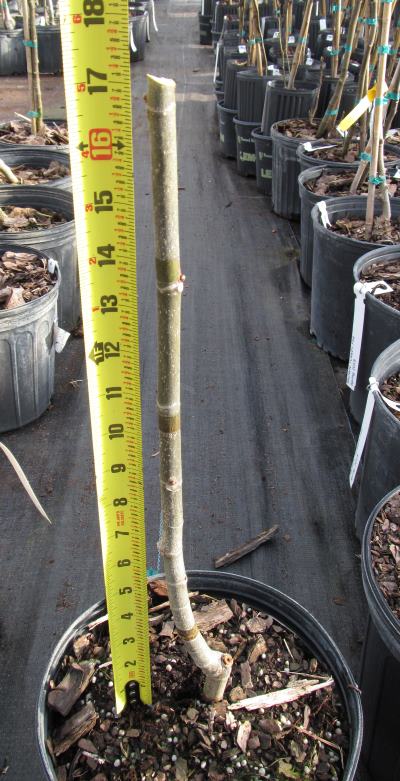
First Year- Cut tree off at 18 inches. When new growth forms choose 5-6 well placed new shoot to make a several trunks. Sprouts that arise from below ground are to be encouraged as long as there is good spacing between them.Â
Second Year- it is often the second year that you will see shoot arising from below ground. Continue choosing well spaced ones to achieve the 5-6 main trunks needed. Â Remove water sprouts that may have formed on the older main trunks. Water sprouts shade the interior of the tree. Trim any crossing limbs. Top out excessively long shoots to promote lower fruiting branches.Â
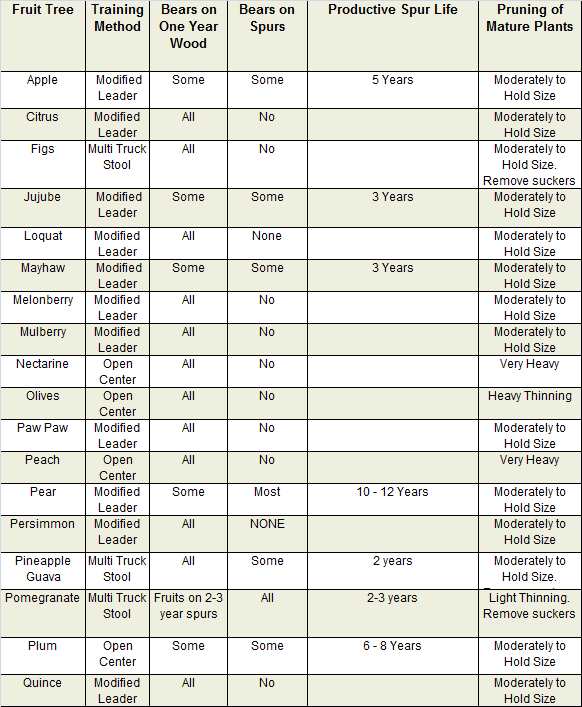
Fruit Wood One Year Growth verses Spur Growth
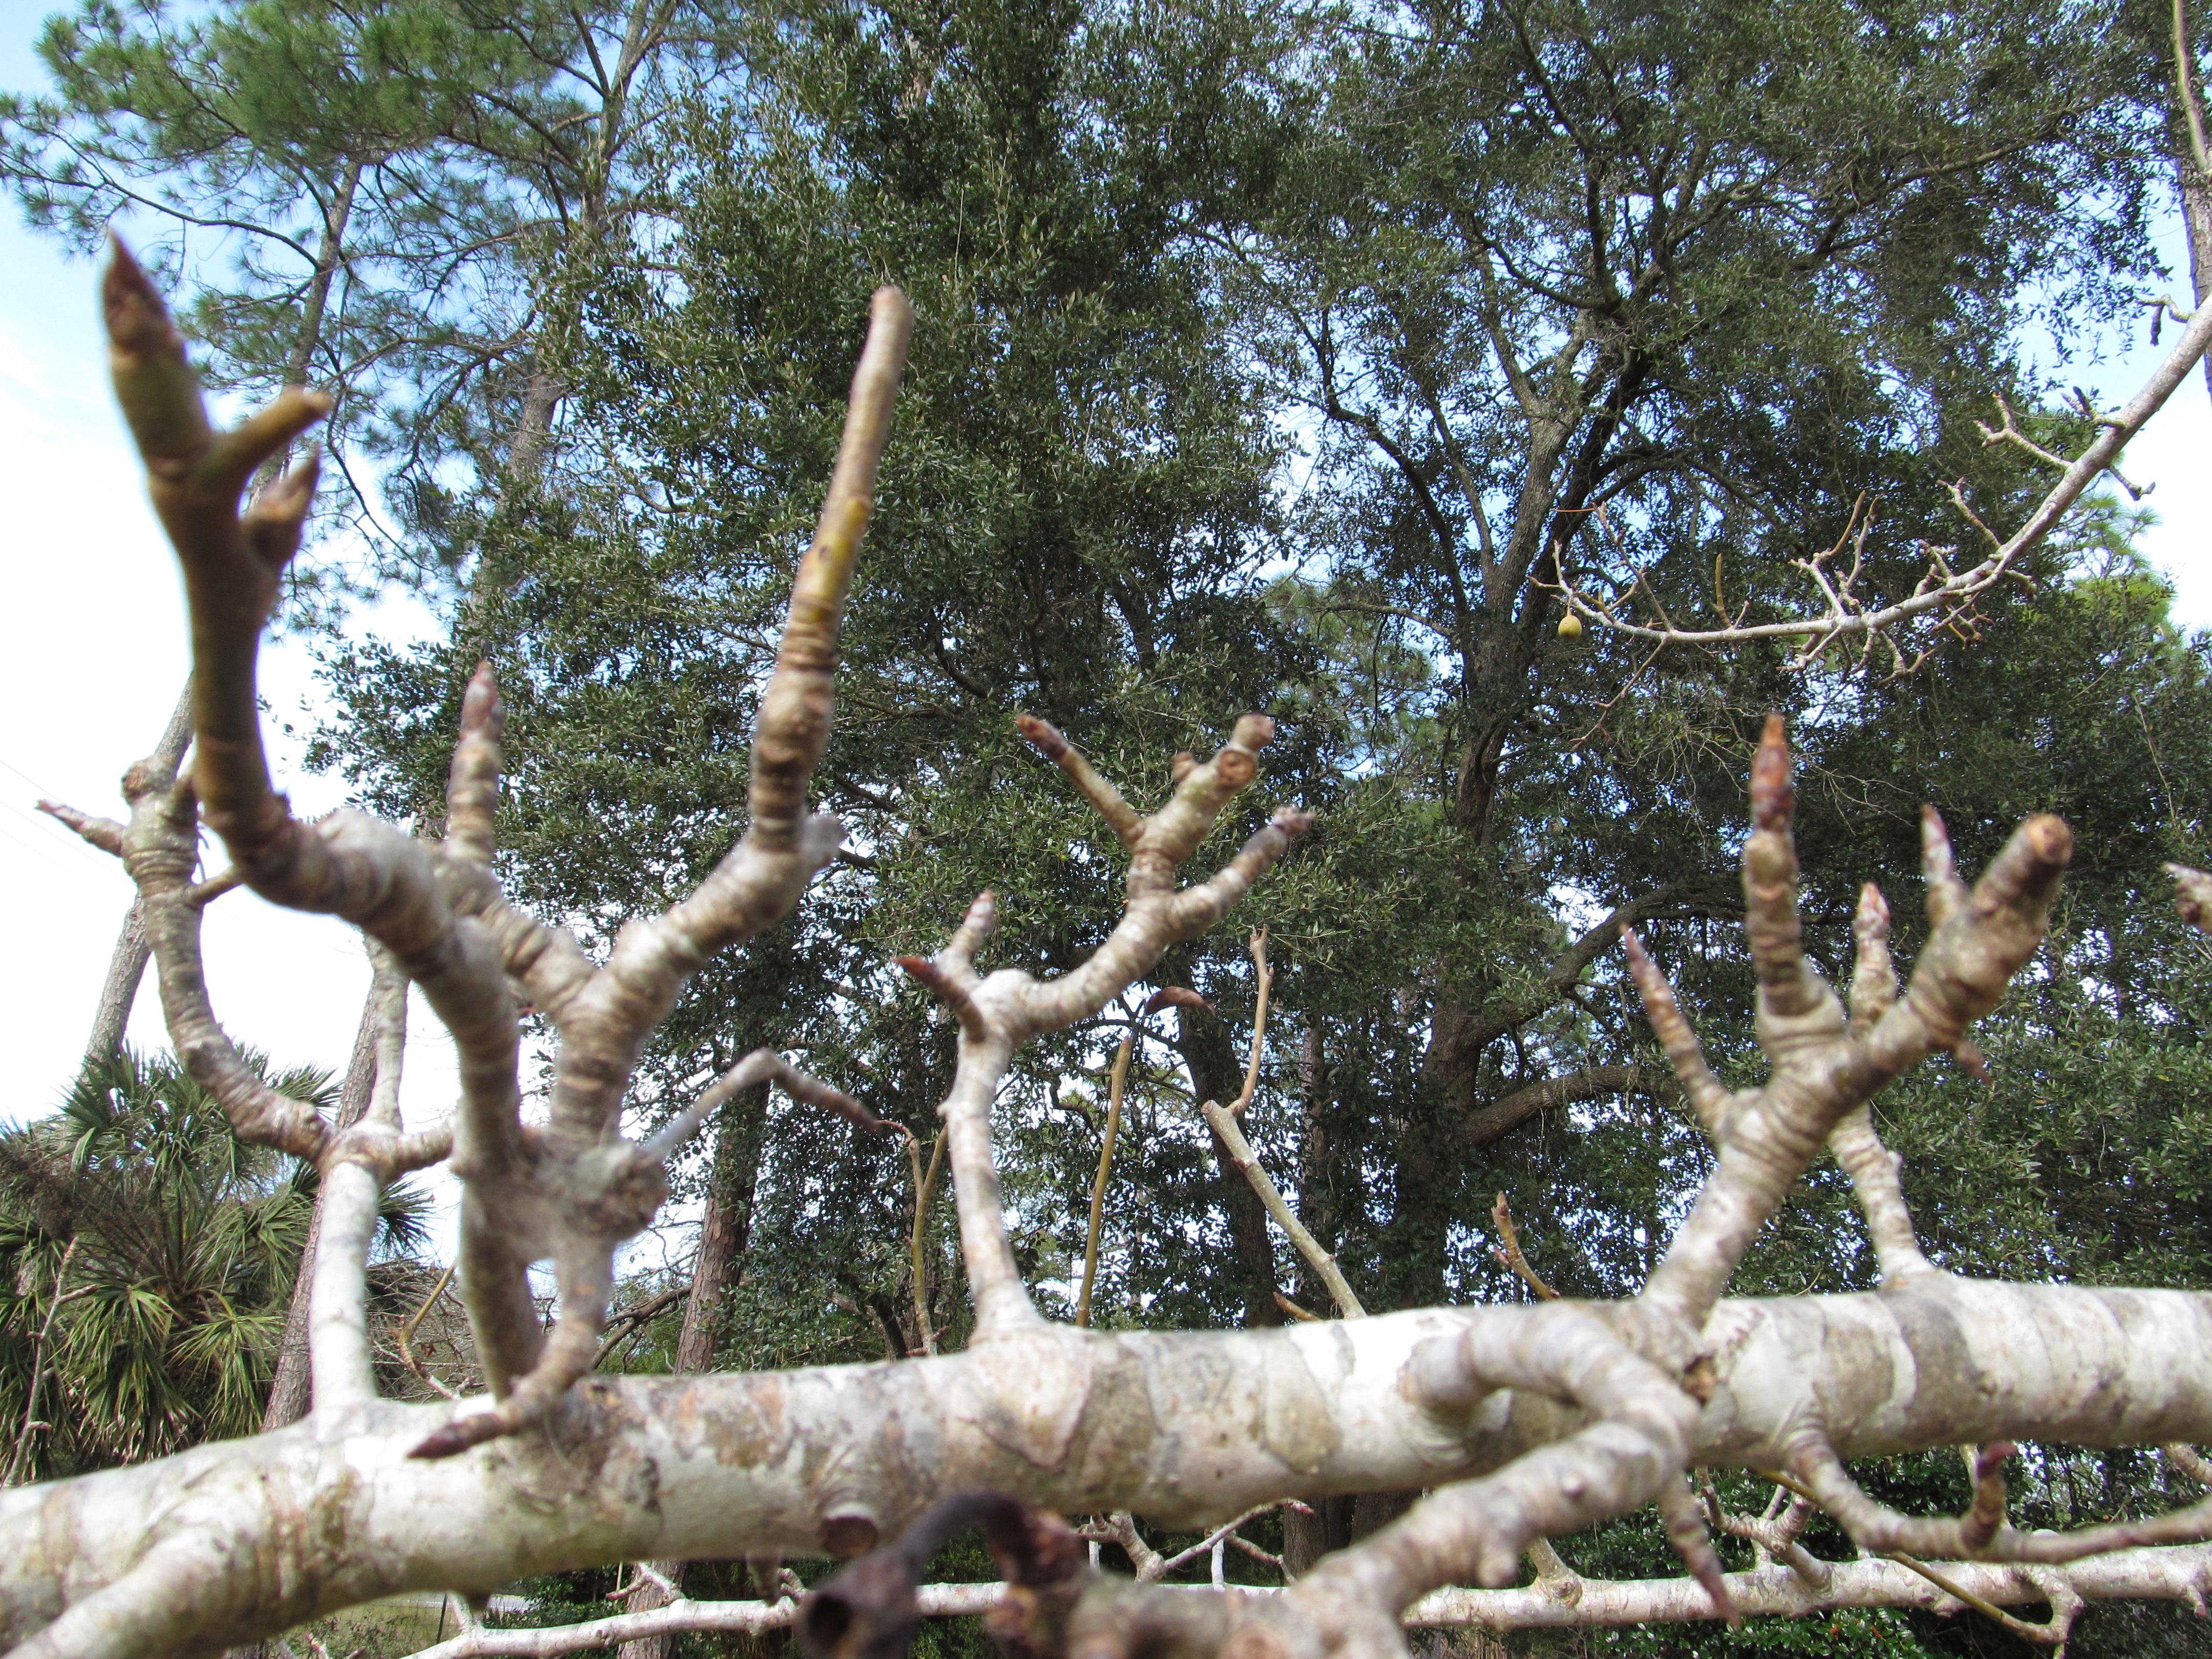
One of the keys to learning how to prune your fruit trees is to know what type of wood the tree puts fruit on. Fruit trees are classed into two groups, those that bear their fruit on the one year old growth, and those that fruit on long lived growth so called “spurs”. These spurs remain productive for several year depending on the fruit type, see chart below. The thing to keep in mind is that fruit types that bear fruit on one year old growth, need annual heavy pruning to stimulate them to remain productive. The spur type fruits need light pruning to stimulate the spur production and as the spurs grows older they need to be trimmed to  renew the growing points..
Spreading Limbs
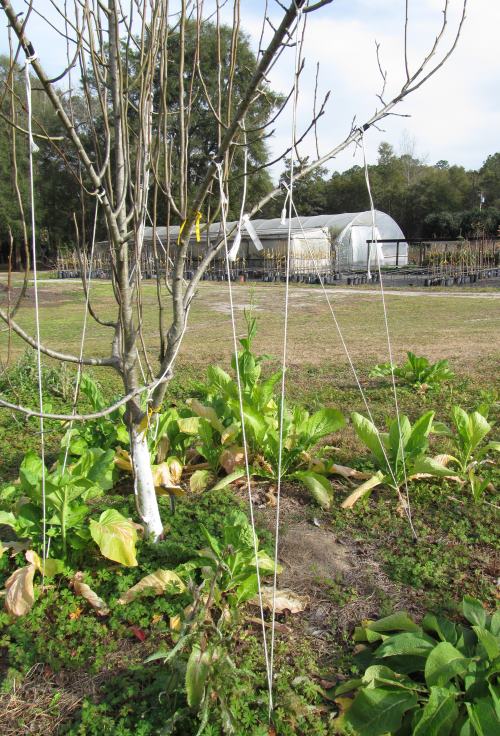
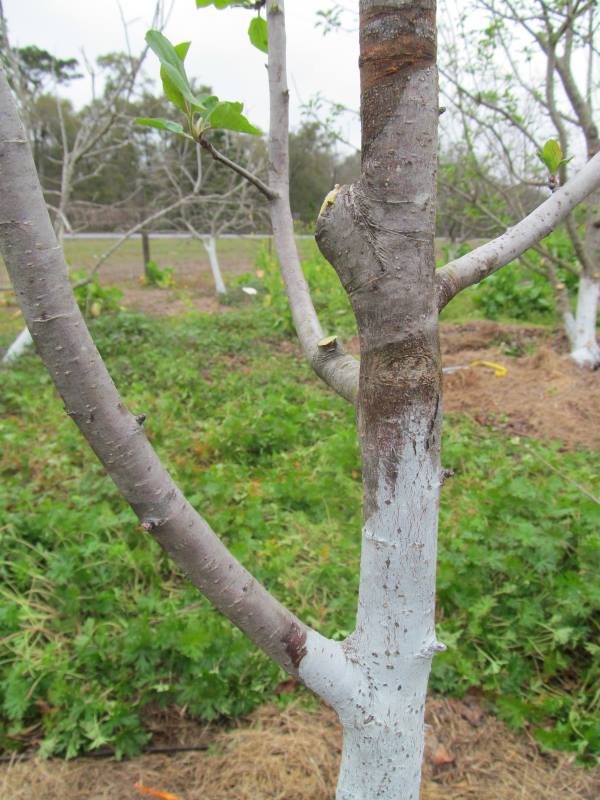
One of the main keys to getting your trees to bear heavy loads of fruit with out breaking limbs is to work on developing good crotch angles on the scaffold limbs. The best angles are at the 2:00 or 10:00 o’clock position. Most often you will need to adjust the angle of the limbs. Using branch spreaders of pegging limbs while they are young is the best method to achieve the perfect angle. We use a system of pegging. Take a length of soft nylon 1/4 inch cord, tie the middle to a tent stake and pound it into the ground. The two ends are tied to a padded area on the limb. We use old garden hose to pad the limb. This two point tie system will allow you to easily adjust the angle of the limb.

Â
Â
Maintaining Height on Your Trees
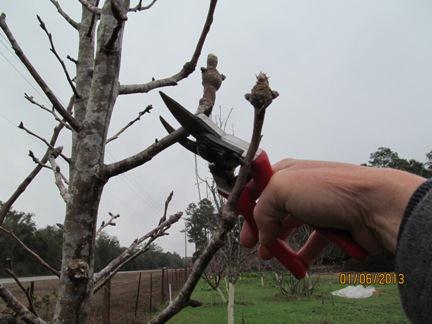
Once you have worked on developing your trees structure you’ll need to work on keeping the fruit within picking reach. On all fruit trees training system , you’ll use a heading back cut at the ends on branches to keep the scaffold limb from getting too long. Choose a weak limb growing in an outward position and head back to it. Trim it back to 6 inches.Â

Water Sprout GrowthÂ
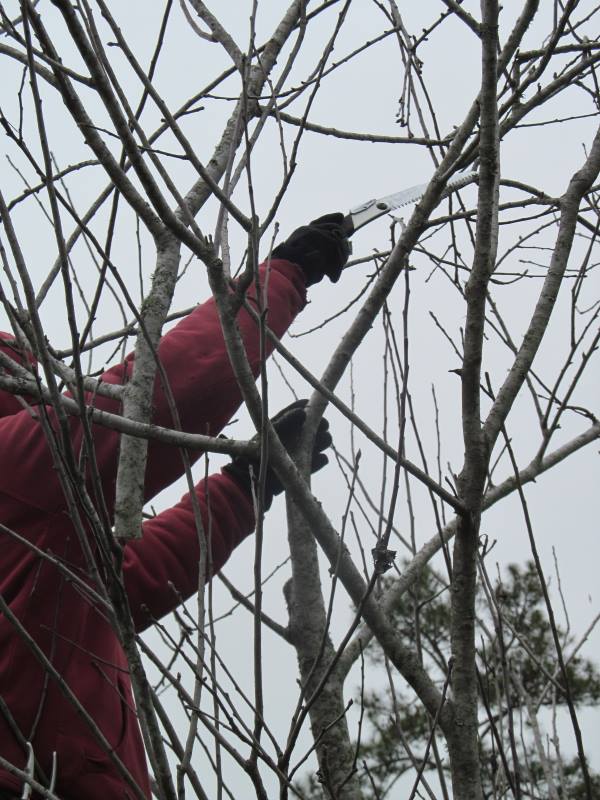
Fast growing shoots that arise on top of the limbs are called water sprouts. This growth makes poor fruit wood and will quickly shade out the center of the tree.
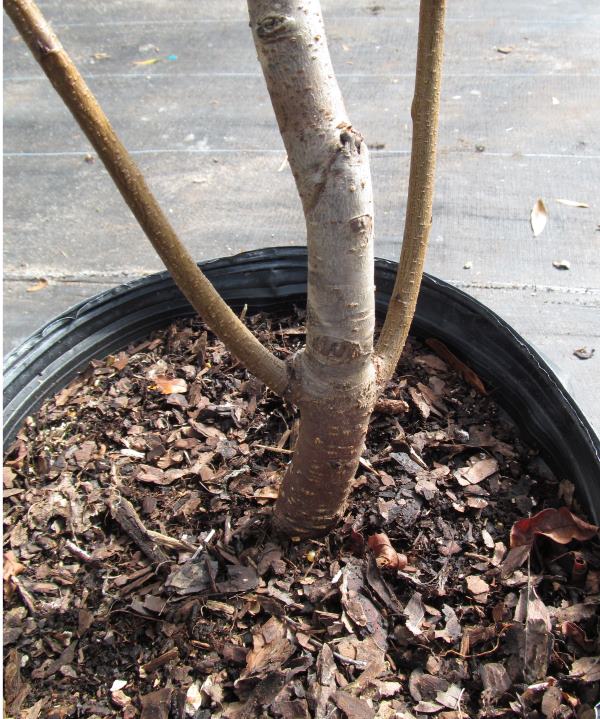
Root Suckers–
Many fruit trees are grafted. The graft union is usually found 4-6 inches off ground level. Through out the year keep any growth that arises in this area trimmed off.Â
Summer Training –
Summer pruning is an important part of training a fruit tree. Work to keep water sprouts growth cut out of the tree through out summer. Continue training the build more scaffold limbs on central and modified central leader systems. Put spreaders on trees to encourage more open branching structures.Â
Removing  FruitÂ
Heavy fruit loads weaken the tree and pull it out of shape. To insure a healthy start to your fruit trees life, pull off all or most of the fruit the first and second year of the trees life.Â
Got a question about training fruit trees. Leave us a comment below, we’d love to help.